
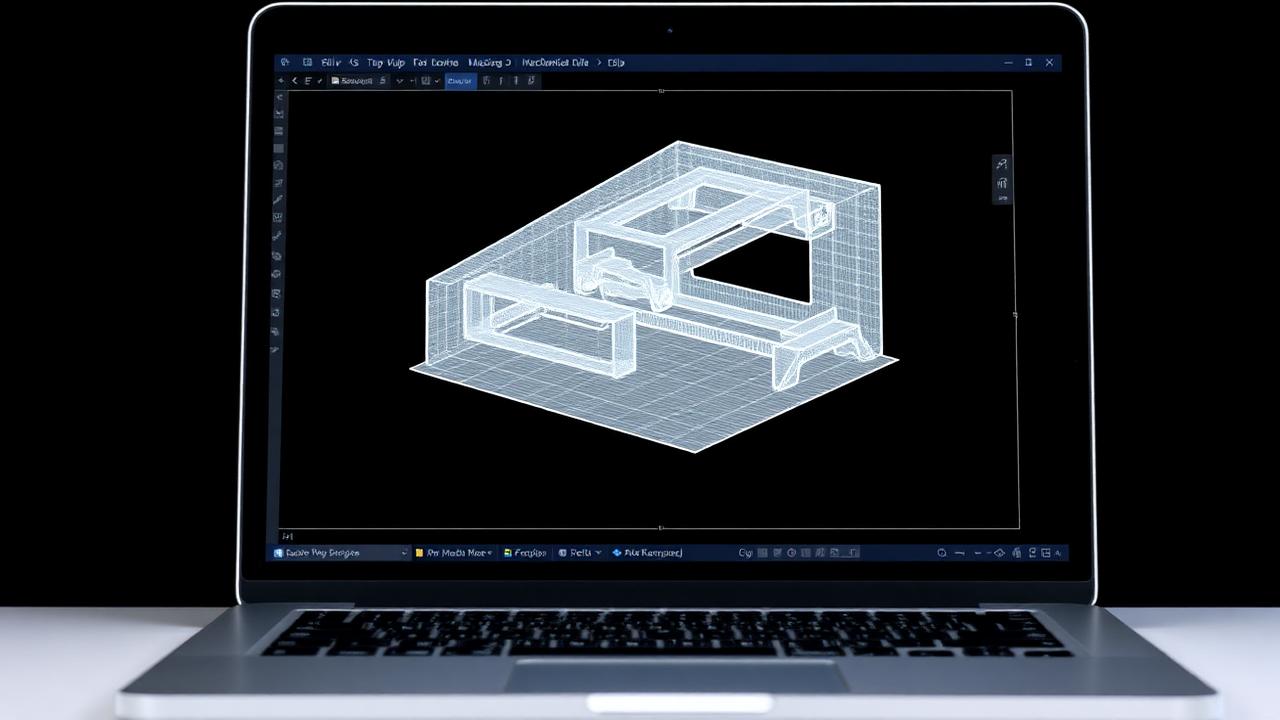
Why STL files fail
An STL is just a collection of triangles — no parametric geometry, units are implicit, and small errors (non-manifold edges, flipped normals, thin walls) show up as unprintable surfaces or silent material swaps.
1. Export in millimetres
Check that the CAD unit is mm before export. Inch or cm models end up 25× too big or 10× too small.
2. Set high enough resolution
Set deviation to 0.01 mm. Too coarse creates faceting on rounds; too fine creates unnecessarily large files.
3. Check manifold geometry
The STL must be watertight — every edge belongs to exactly two triangles. Use Meshmixer, Netfabb or PrusaSlicer Repair.
4. Minimum wall thickness
FDM: recommended min 1.0 mm, absolute min 0.8 mm. SLA: 0.4–0.6 mm.
5. Think about orientation before sending
You do not need to orient for us — we will optimise — but tell us which surface must be smooth and which carries load.
6. Send a technical drawing for critical dimensions
If you need ±0.1 mm on a bearing hole or exact distance between mounting features, send a STEP or PDF drawing with critical dimensions.
Quick pre-send check
Open the file in our online calculator — you will see a 3D preview, dimensions and volume. If it looks exactly as you want on screen, it will most likely print that way.
Get a quote
Plain-English guides on choosing the right 3D printing technology, material selection and design for additive manufacturing.